
Image plays a big rule to convince your customer to purchase from you. It does take time to edit and update each of your items to fit your requirement so our advise is always to choose your top 10 items that are slow selling so that it may increase the product’s visibility and in turn make some sales for you
For this particular item, we would be using a FREE ONLINE SOFTWARE called PicMonkey. It does not require any downloads.
Visit here to get started: http://www.picmonkey.com
Please familiarise yourself with this website before proceeding to read. We will only be providing tips and NOT a how-to-use this website.

PicMonkey is a free online software that you can use to make subtle changes to images. You should use this if you are a beginner in image editing.
Tip #1: Add borders
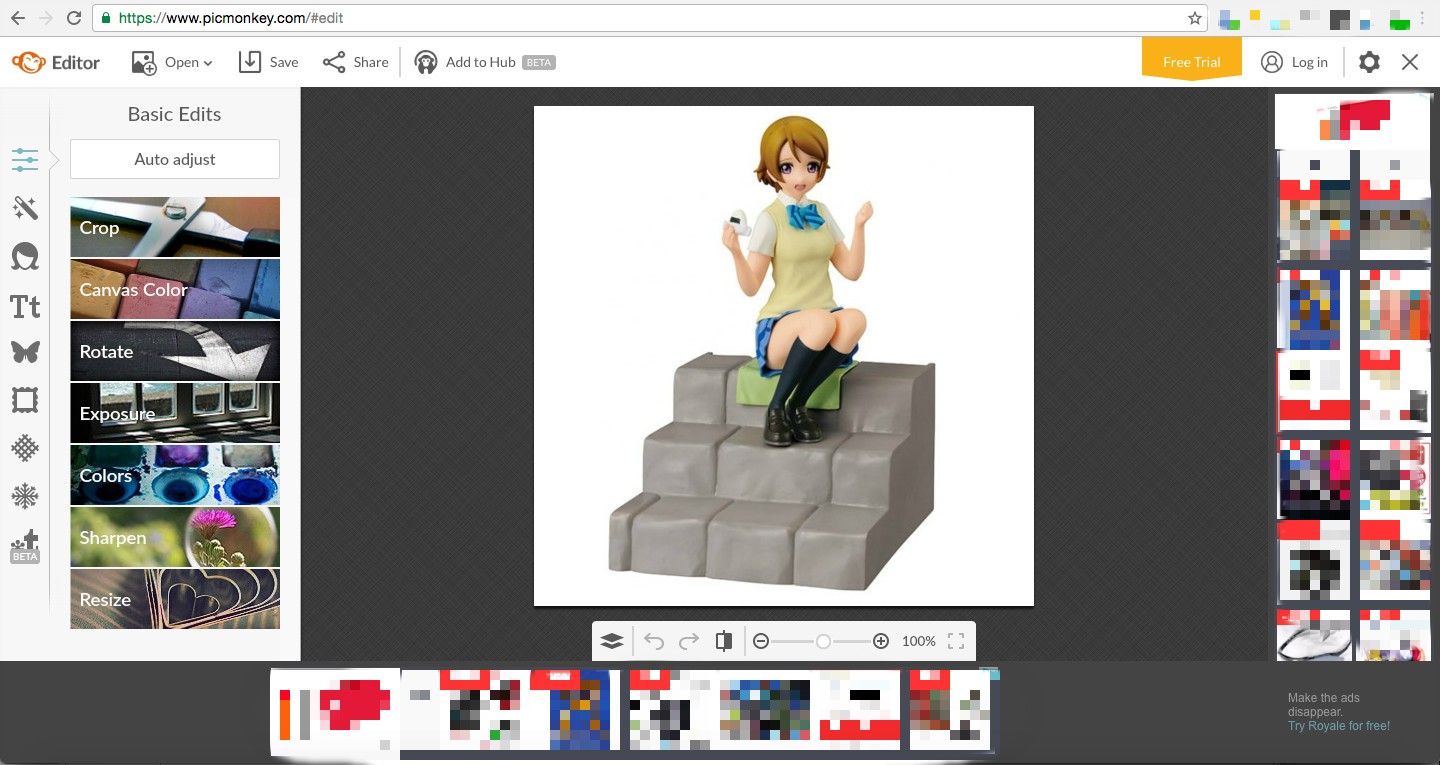
first thing we are going to look at is a simple edit to make your image stand out. You do not even need to use PicMonkey for this. You can use paint or any other software that you have available. But for this, we will be showing you how it can look like from PicMonkey.
You should already have downloaded all product images. Choose one and upload it into the system.
Click the border button and choose what type of border would you prefer on you image. Finished image as item below
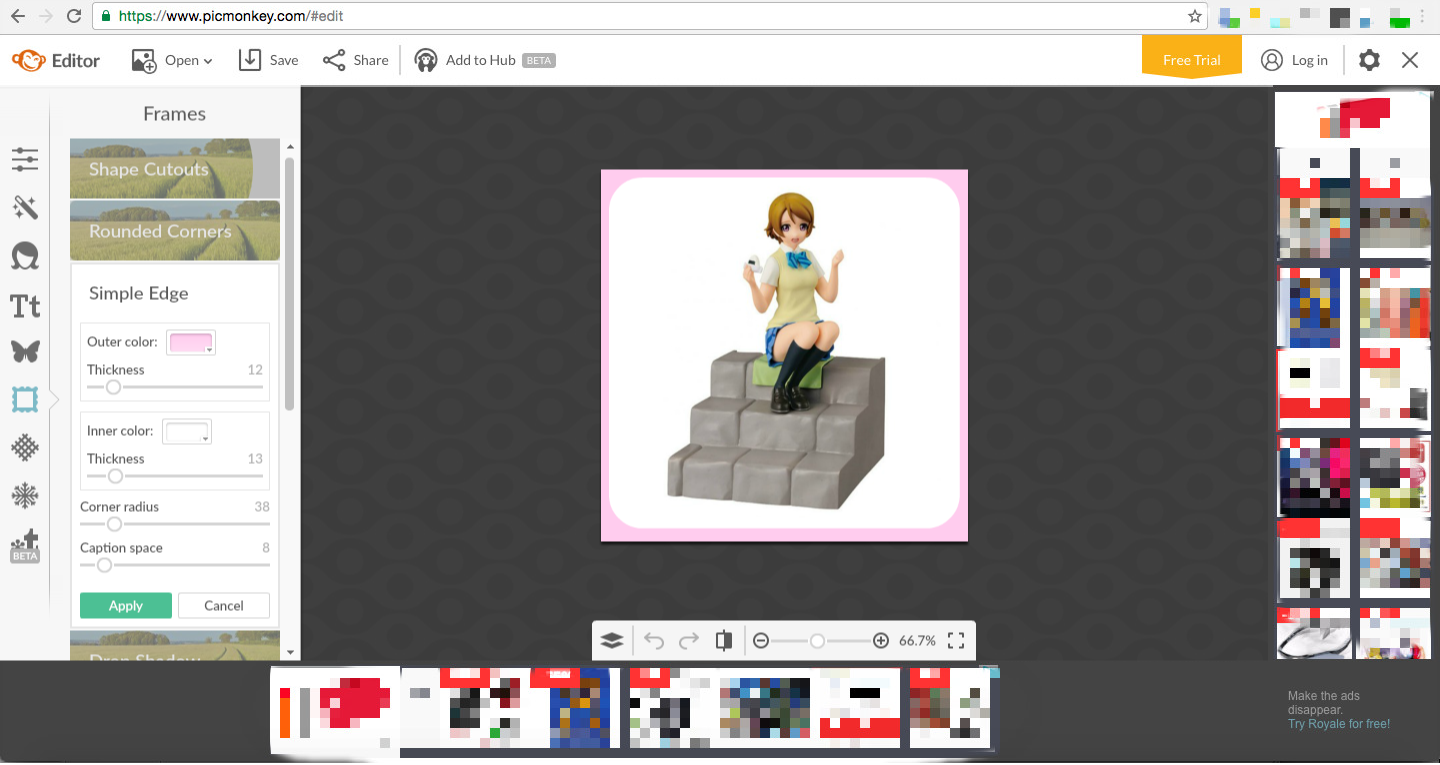
So simple! So effective! Not convince? Let’s try another way.
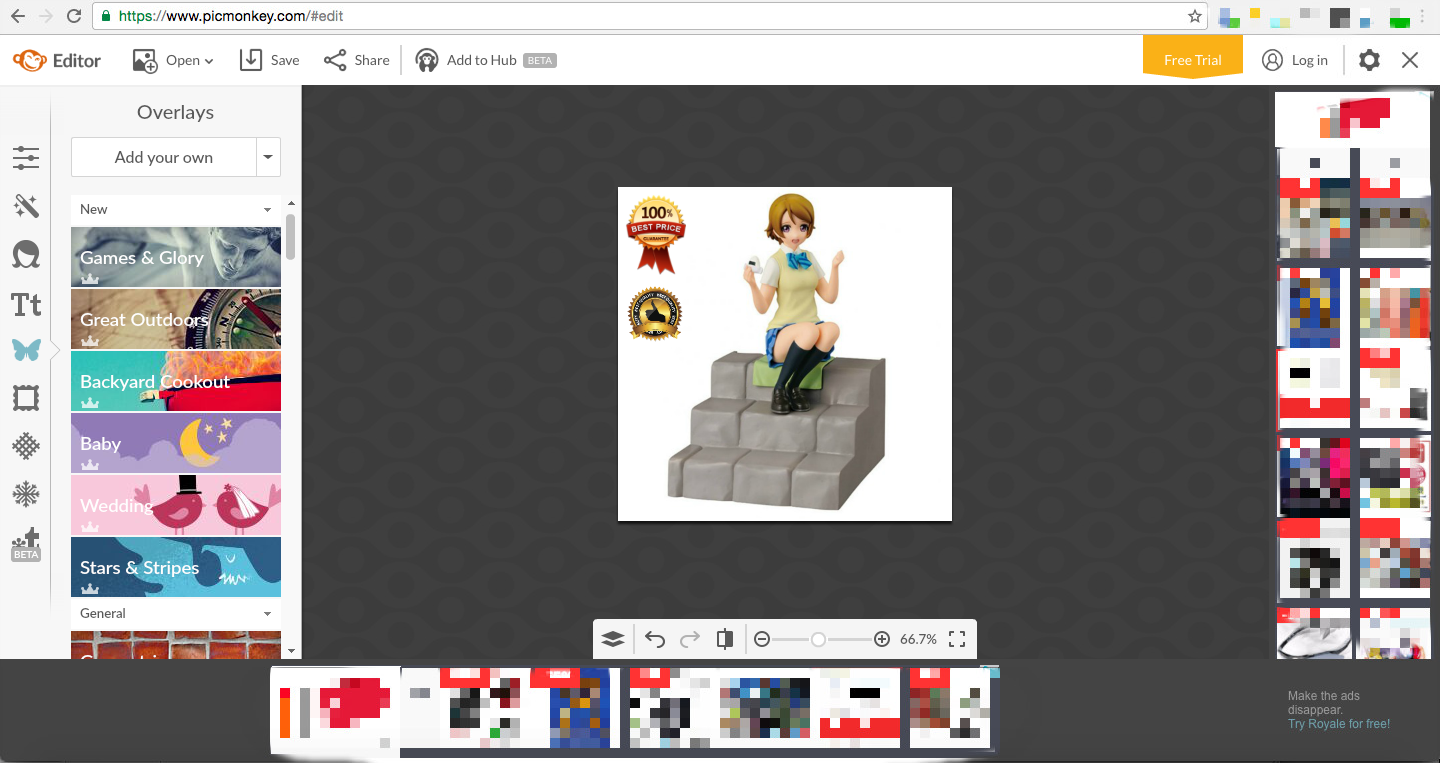
Tip #2: Add ‘Guarantee’ Badges
Another way to make your images stand out is by using some badges inside your image to promote some sort of information such as ‘Free Shipping’, ‘Trusted Seller’, ‘100% Customer Satisfaction’
Example:

All these type of information would skew a potential customer’s view to you as all this information portrays trust and believability. Many can claim that they sell the same thing, but only the few who are trustworthy. Adding these information will build more trust and potential sales in your online store.
Here’s how you add it into your photos
Next insert images of item using the Overlay button. Click the ‘Add your own’ button and upload your chosen badges. Note: Only one badge per upload. List them by what is important first at the top. Make it look ‘clean’ and not messy.
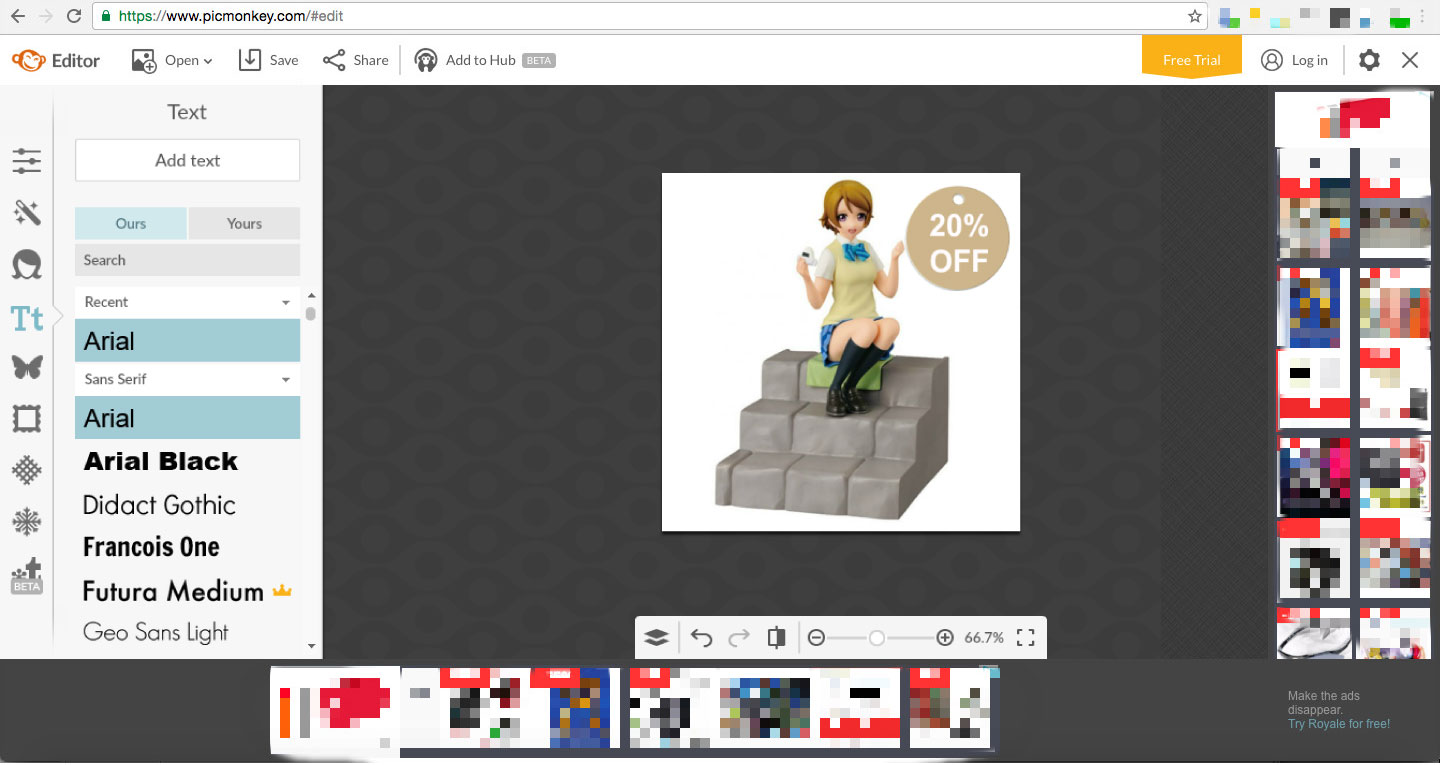
Tip #3: Add Discounts
And a final method, we do not recommend doing this all the time but only during certain periods. The certain periods we are describing are events or sales campaigns that goes on for 1 to 2 weeks maximum. Having this on your site may be able to get your sales but we could not guarantee for how long.
But it does give you an extra boost during the sales events or campaigns. So do try this method and tell us how it has worked for you.
Download a ‘Dog Tag’ with an animated colour. Why ‘Dog Tag’? Because it is big enough to be inserted on the product and you will be able to insert the discounts on your products yourself. Sometimes it’s hard to find a 35% discount tag on Google. Example like below:

Next insert the Tag in your products and insert the amount that you would like to discount. As follows:
In conclusion, do try as many methods as you can find. Remember that an item that stands out most has a higher chance of getting noticed. In our online marketplace, getting noticed is described as increased impressions, increased traffic and increased in conversions. Try and test as many as you can. Delete what does not work and increase your attention to something that does and follow through.
Signing off!